Tuesday, 4 December 2018

Christmas is nearly here!!!

Hello Stampers

Just 21 days till Christmas Day!!!!  That will go just so fast 😲🎄🎅 and you are thinking you would like to make your own Christmas Crackers or Bon Bons as we call them here in Australia??

They really are so easy and so much fun as you can fill them with anything you like to suit the receiver.

I made them for all my Class Attendees last Saturday and they were a hit.


The baubles on the backs of the chairs were a design from last year.

I found lots of Youtube videos on How to Make Christmas Crackers but they were all American, and very good I may add, but the measurements were 6 1/2" x 10 1/2".
You could only get one Christmas Cracker out of each 12" x 12" piece of Designer Series Paper.
As I am a "frugal" crafter and don't like too much wastage.  I changed the measurements to get 2 x Christmas Crackers from each piece of 12" x 12" Designer Series Paper 😁  The Cracker is still large enough to fill with substantial little gifts.  I added a $1.00 scratchie + a Favourites Chocolate + a small packet of sticky page tabs for my Ladies to use in the upcoming new Occasions Catalogue for 2019.

So we start with a piece of Designer Series Paper 10 1/2" x 5 3/4"
  • Score on the short 5 3/4" side at 7/8"; 1 3/4"; 2 5/8"; 3 1/2"; 4 3/8" and 5 1/4"
  • Score on one long 10 1/2" side at 1 1/2"; 2" and 2 1/2"
  • Rotate to other long side and score the same
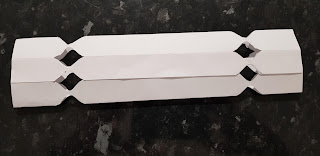
 I have made a template using Photocopy paper so that you can see the score lines etc easier.  However this paper is a little too flimsy for the Envelope Punch Board so you will see it does not cut cleanly.  The Stampin' Up! ® Designer Series Paper is a heavier quality so you will get a much cleaner cut with the DSP.


  • Starting with the small tab edge facing towards you place the paper into the Envelope Punch Board with the pointer at the middle score line.  The left hand edge of the paper will also be at the 2 mark across the top.  Punch only.  No scoring required here


  • Fold along first long scoreline and repeat punching process


  • Repeat folding along each long fold line and punching till the end but do not punch the end small tab


  • Repeat other side


  • Place small amount of Multi-purpose Liquid Glue along the tab edge


  • Fold over other side to match up and press down to secure
  • Tie ribbon around one end and gently fold Cracker into shape.  Fill Cracker from open end and then tie up with ribbon the same.

    I did add the Cracker snap with a small glue dot at each end to prevent from falling out as well.

    The Cracker snaps I just bought off EBay.

    Have fun with your Christmas Crackers and would really love to see what you create in the comments 😊😊😊

    Happy and safe Christmas everyone and 
    Happy Stamping
    Janette


Thursday, 15 November 2018

Lots of news!!!

Hello Stampers

My! My! so much has happened since my last post 😮 where has the time gone?? and so sorry I have been Missing in Action since September!!!!

Firstly I did have a little time in hospital but all is good and I did not miss too much crafting time 😉

Then I was main Carer for my Brother who had a major operation.  He is now well and truly on the mend and back in Darwin with his family.  All is good on that front as well 😀

I then spent a fun week with my Son and his family in Canberra.  My Grandson, Tyler, celebrated his 7th birthday and I made him an Accordion Card-in-a-Box. A big Thanks goes to Sam of Mixed Up Crafts in the UK for the idea.


It takes pride of place on his bedroom door as seen in the pic above and it definitely passes the test of a 3 year old sister dragging it around the house putting back and taking it out of the box multiple times 😁😁😁  I will have to do a Class on this one.

I have now, just last weekend, attended our Stampin' Up! bi-annual OnStage Event and what a fabulous time we had!!!

Here is my card I made to swap.  I made 50 and received back all really wonderful swaps from other talented Demonstrators


and here is the production of the 50...


We celebrated Stampin' Up!s 30th Anniversary and they were so very generous to all the Demonstrators.  What a great Company we "work" for.  If you can call it that 😉😂  More like "Have fun each day with"

We got to play with some new products starting in the New Year and also seeing the freebies coming up during Sale-a-Bration in 2019.  A little sneeky bit of information for you.....there is going to be a fabulous surprise for those who join my Team of Sunburst Stampers during Sale-a-Bration Time 😀😲  Even if you just wish to buy all your supplies at a discount of up to 25% as a Hobby Demonstrator.  Keep watching my Website here during the New Year.

Also don't forget your lovely crafting friends at Christmas Time.  If you are not sure what they would like just get them a Gift Card.  Every customer who orders a Gift Card from me from now till December 14 will receive and extra little gift from me as well 😀   Just email me here if you would like to organise one

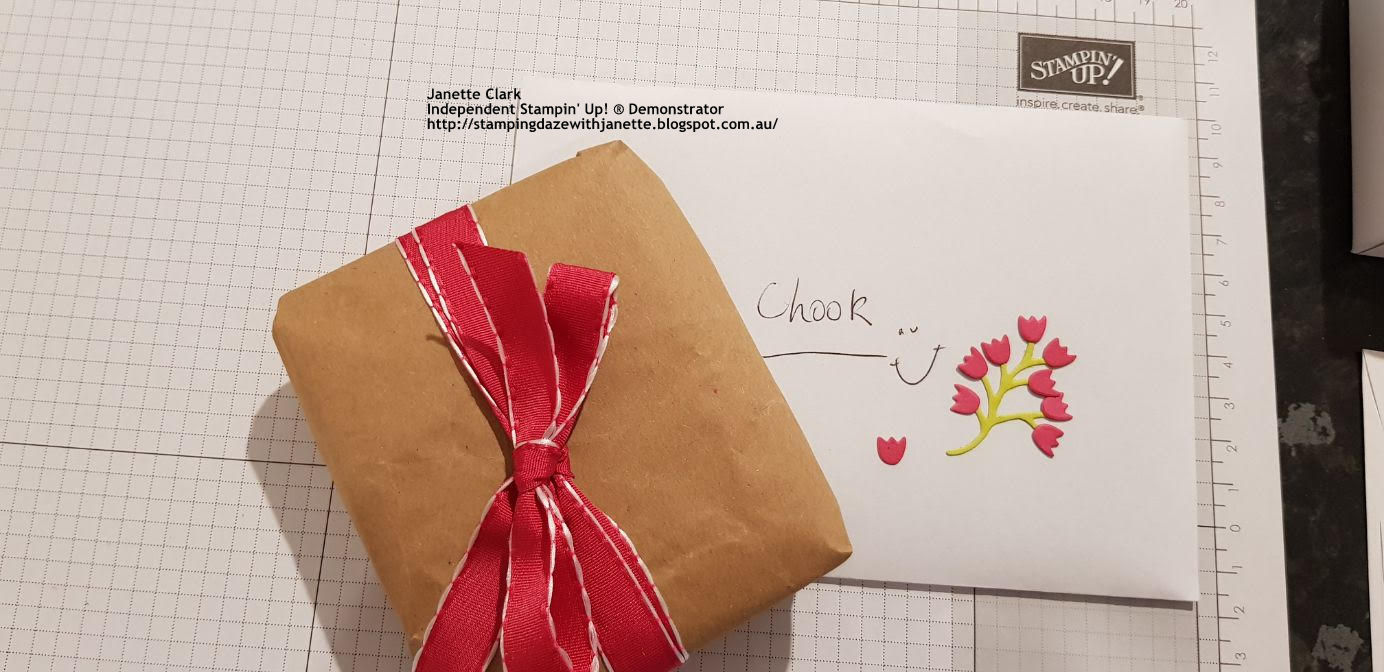
I do have a little Handy Hint again for today and it has to do with a couple of Framelits Sets.  Have you ever wondered what to do with the little "Floral bits"  in the "Apron Builder"??


Well teamed up with some leaves from the "Sweet Cake" Framelits you have a little bunch of flowers 😀

This is how I decorated the envelope for a Friend's Birthday Card.  We met while working in London in the late 1970's (Yes that is giving away our ages 😂😂) and along with another Friend we are the 3 Chooks!!! 🐔🐔🐔


And this is the card I made for her Birthday... Happy Birthday Chook 💓😊


I will now try and not make it so long between Blog Posts 😬

Happy Stamping
Janette

Thursday, 13 September 2018

Handy Hint Thursday

Hello Stampers


I have another handy hint for you all today which may help you get more use out of those stamp sets you already have - stretch them a little further.

My card example is using the "Joyous Noel" Specialty Designer Series Paper that has touches of copper foil textures throughout.  This one in particular is in Merry Merlot. Paired with the Merry Merlot & Copper Reversible Ribbon.  Simple but gorgeous.


I think it screams snowflakes and winter.  This is not conducive  to the climate where I live here in Australia.  It is hot at Christmas time here and we never get snow but I think of my Northern Hemisphere crafters when I see this card/paper.

My Handy Hint relates to the greeting and you may ask - Where is that greeting from?  Which stamp set?  Well it is a combination of 2 stamp sets and I think they go perfectly together.

The first "HO! HO! HO!" is from the "So Santa" Stamp Set in the new Holiday Catalogue and the "Happy Christmas" Banner is from the "Labels to Love" in the Annual Catalogue.  All you need is a "Basic Black" Stampin' Write Marker and anything is possible.

Firstly I coloured the HO! HO! HO! part of this stamp with my black marker and stamped on Whisper White Cardstock, then inked up the "Happy Christmas" only part of this stamp with my Basic Black Marker and stamped underneath. Run this through my Big Shot with the circle stitched framelit and...
  Walah!!!  Done 😀 

You can click on the images below to see what else is in each of these stamp sets more closely.

Happy experimenting
Janette


Thursday, 6 September 2018

Handy Hint Thursday

Hello Stampers

Thought I might start sharing my "handy hints" that I discover from time-to-time.  My first Handy Hint for this Thursday is showing you how to get more out of your punches, and in particular, the "Everyday Label" Punch this time.

I am continuing to add to my Christmas Card stash for 2018 and this one is a nice simple one using the "Under the Mistletoe" Designer Series Paper, some co-ordinating Real Red card as a frame and the cute greeting from the "Cookie Cutter Christmas" Stamp Set.  


As the greeting is just that little bit too big to use the "Classic Label" punch which I often turn to for my small greetings, I thought what can I use that has a little bit of a special touch?


Well I reached for my "Everyday Label" Punch and this is what works just perfectly.....


Happy days with more uses for my "Everyday Label" Punch 😀😀

Happy stamping
Janette


Wednesday, 5 September 2018

September is here!!

Hello Stampers

September is an exciting month here in Australia.  Not only was it the first day of Spring last Saturday 1st but also our new Holiday Catalogue began today 😁😁 That is very exciting!!! If you haven't got your copy yet email me here and I will get one out to you straight away!

Also with the start of September comes a new Hostess Code for all my wonderful Australian Online Shoppers


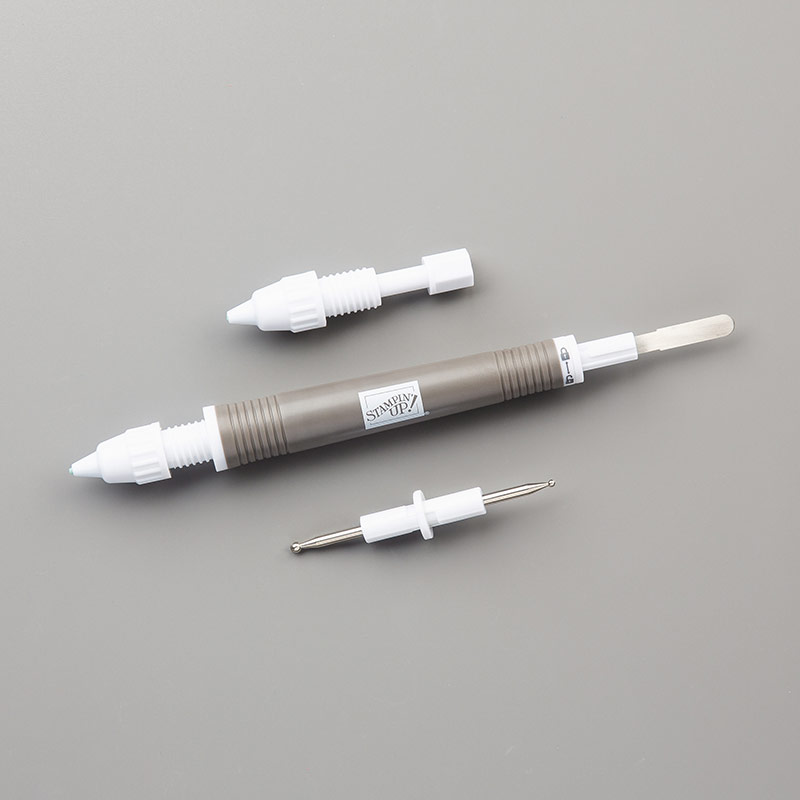
Just enter this Hostess code when ordering and for all orders $90.00 and over you will receive a free "Take Your Pick" Tool from me just to say Thank You 👍😍


Take Your Pick


Pop on over to my website here and the rest is easy 😉
Happy stamping
Janette