Saturday 27 April 2019

Everything Floral Class

Hello Stampers

Today was my monthly class and my theme was "Everything Floral".  Seven fun ladies stamped, embossed, coloured and laughed lots whilst making the 3 cards for the afternoon.  

Here is my table all set up ready to go...


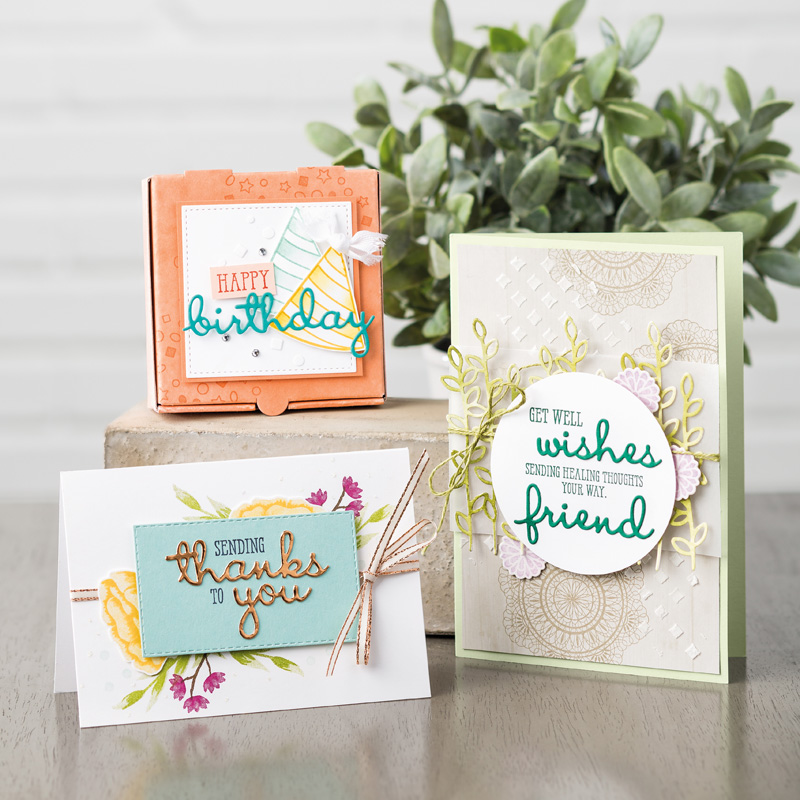
The first is always the easiest to get them all started. Using the "Petal Promenade" Designer Series Paper.  A real favourite of mine and will be very sad to see this go early in June to make way for more beautiful Designer Series Papers coming in the new Annual Catalogue 😉  Just a greeting from the "Stitched All Around" Stamp Set stamped in the middle and the little edging poking out at the bottom is from the "Flourish Thinlits" Dies.  Popped up on the Whisper White Cardbase with Stampin' Dimensionals and you are all done!


The second card is called a Fun Fold Buckle Card and would like to Thank Terri Gaines for this inspiration.  Very effective and yet, still quite easy card to put together


I teamed this card with the "Perennial Birthday" Stamp Set in keeping with the "Everything Floral" Theme 😊


The last card is using the "Country Floral" Embossing Folder which is not available at this point in time but will be from June 3rd when our new 2019/2020 Annual Catalogue begins. Also the "Climbing Roses" Stamp Set 


The floral stamp is inked with Versamark and embossed with White Embossing Powder and then coloured with Stampin' Blends.  It is all quiet around the table with the colouring concentration.


I created a template to add to the embossing folder which, when run through the Big Shot, only embossed around the floral stamp leaving the top un-embossed.


The greeting is from the "Humming Along" Stamp Set, which is retiring soon so if you like this one grab it quickly,  and punched out with the "Story Label" Punch also available in the new upcoming Annual Catalogue.

Here are all most of the class creations bar one which Gail was still working on...


And here is Gail's finished masterpiece 😍


Lots of laughs during the course of the afternoon, especially when Ann brought out her "small" roll of dimensional tape  😲 She certainly will not run out in a big hurry!!!


Thanks everyone.  I had a ton of fun, yet again.  Let's do it all again next month 

My next class in May I will have a go at the Colouring Tissue Paper Technique.  I have already mentioned to the ladies not to wear white to next month's class 😆😆😆

If you live on the Sunshine Coast and wish to join in the fun just email me here for all the details.

Happy Stamping
Janette

Tuesday 23 April 2019

New Shelli Kit coming soon!!

Hello Stampers

Have you all heard how American Papercrafters can get a subscription to "Paper Pumpkin" Kits?  These are kits designed each month with a certain theme and everything needed for the creations are in the pretty boxed kit.  Well the South Pacific and European Markets are not able to have access to these kits so a special one called "The Hugs from Shelli Kit" Paper Pumpkin Kit, a nature-focused, limited edition kit will be available for purchase on May 15 2019 until stocks last.  I am very excited about this kit and it will be on the top of my "To-Get" List on May 15 😁😁


Specially designed by the Co-Founder of Stampin' Up!  ® Shelli Gardner.  This set will surprise and delight you with fun, new creative experiences.  Watch my Website for more info on May 15.

I also wish to share with you all the new designed framelits coming out in our new 2019/2020 Annual Catalogue.

I was lucky enough to be able pick up one of the new bundles called "Bloom & Grow" while at our recent OnStage Event in Auckland and had a little play with it today.

The "Budding blooms" Framelits are made in the new design but still very easy to use with all current BigShot Tools.


As you can see it still shows a small white border around the image after running it through the BigShot.  The only difference to the design is where the cutting edge is - a little further in from the inner edge.

The same BigShot sandwich was used successfully - Magnetic Platform, Standard Cutting Plate, cardstock and framelit placed cutting edge down, Standard Cutting Plate on top.  It cut cleanly the first time I ran it through the BigShot.  As each BigShot is calibrated slightly different I suggest you try each way yourself but pretty sure you won't need a shim of any sort to help cut the image

I will put this together on a card soon and share the finished result with you.

Happy Stamping
Janette


Sunday 21 April 2019

"Everything is Rosy" Product Medley

Hello Stampers


Today I am sharing with you all an exciting new exclusive, limited-time collection of coordinating, petal-packed products that has everything you need to let your creativity bloom.

It is a box of goodies filled to the brim with cute, coordinating products that have been designed to provide you with endless creative possibilities. 


Here are a few samples of what you can make but, really, the ideas are endless!!


This Product Medley will be available 1-31 May 2019 for $139.00 here in Australia.  This includes:-

Watch for my new May Hostess Code at the beginning of May and also receive an extra little "Thank You" gift from me when you place your order in my Online Store here and add the Hostess Code.

Tomorrow I will be sharing a new "Shelli Kit" coming in May.  Stay tuned for that one 😃

Happy Stamping
Janette

Saturday 20 April 2019

A little break from updates and a little card making!!

Hello Stampers


There is still lots more new Stampin' Up! info to share with you but thought I would take a little break and share a tip with you when using your "Well Written" Framelit Dies.


These Framelit Dies come as a Bundle with the  "Well Said" Stamp Set at the moment until June 3 and then they will carry over into the new 2019/2020 Annual Catalogue but not at the 10% discount offered as the bundle.  So if you like the set best be quick to grab the bargain before June 3 😊


I have made a card using just the Framelit Dies....


My little hint here for these very small framelit words is to add a piece of the Multipurpose Adhesive Sheets to the back of the cardstock you will be using for the words and then running the framelit words through the Big Shot


Then all you have to do is grab your "Take Your Pick" Tool and scrape one end of the back of the word to pop up the backing and peel it all off revealing the sticky side to adhere to your card


I added all the "wishes words then the "birthday" cut from the Silver Foil card using the same method and added it to the middle of the card.  I then filled in the gaps with "Twinkle" Adhesive backed Sequins to finish off.  The cardbase is "Lovely Lipstick"

Watch for tomorrow and the "Everything is Rosy" Product Medley coming soon in May

Hope you are having a happy and safe Easter and happy stamping
Janette